 careyfashion.com Carey Fashion
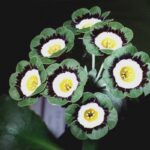
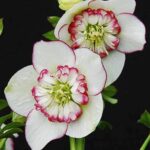
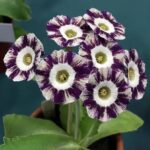
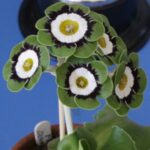
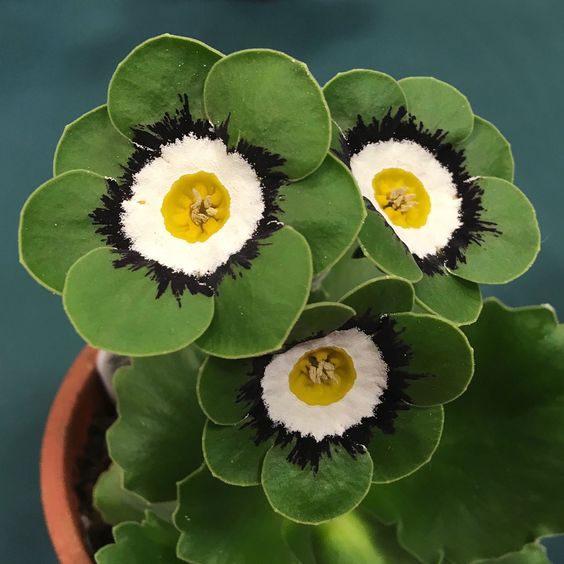
TIP 1. What is the difference between marginal auricles and their rare relatives, the show auricles?
Beet auricles were formerly called garden auricles or Dusty Millers and should always be hardy, floriferous and sweetly scented. All other auricles fall into the florist flower category and meet certain specific written criteria, but there are no rules and restrictions for edge auricles. However, not everything is sold because that’s the way people behave, so we’re always testing new strains outdoors to check their hardiness.

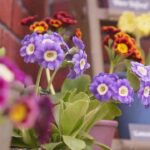
TIP 2. Why are auricles good borders?
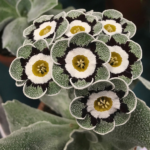
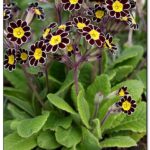
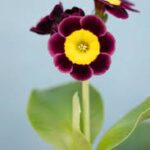
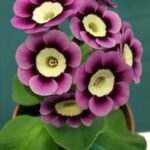
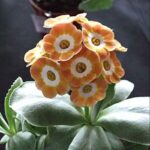
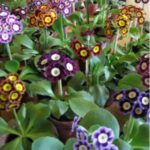
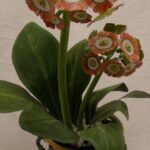
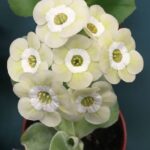
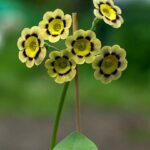
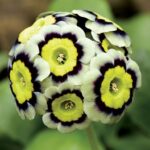
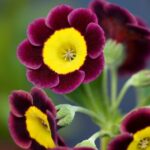
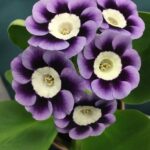
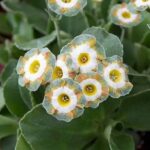
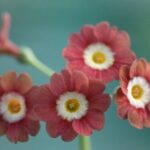
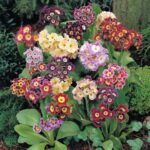
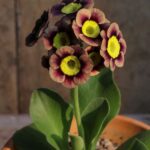
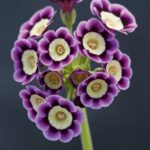
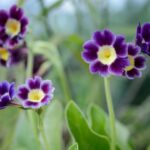
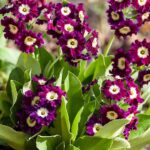
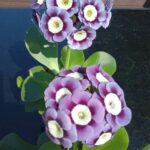
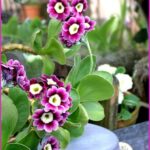
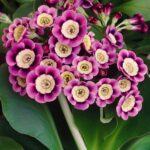
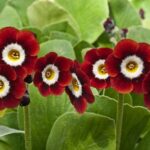
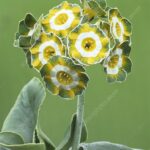
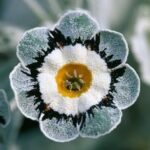
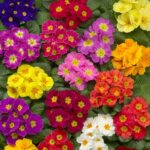
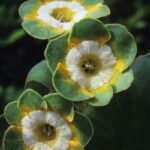
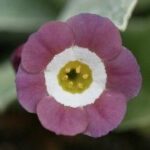
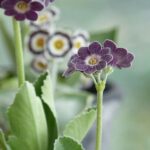
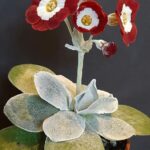
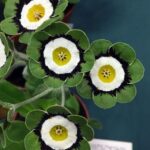
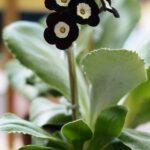
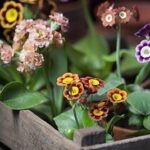
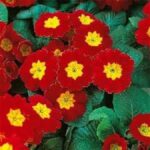
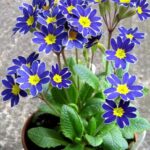
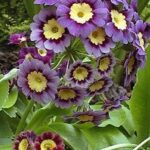
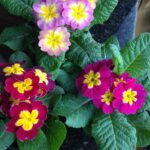
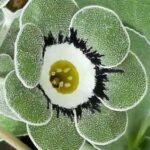
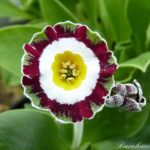
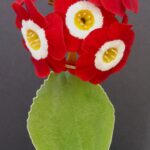
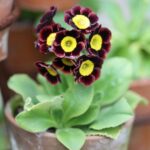
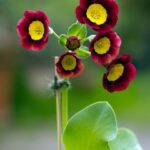
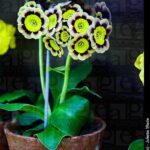
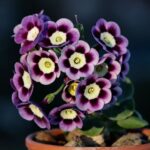
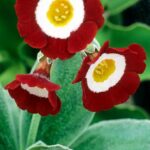
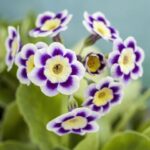
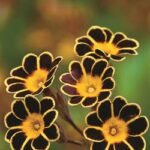
The most appealing feature is their enormous range of variation. They range from large clusters of numerous inflorescences and full-petaled flowers that call out their joy to the smaller, shy plants near the ground that require closer inspection to appreciate their full beauty.
Colors vary from almost black to white and every tone and shade in between. Some bear heavy flour or farina (a white powder similar to fine flour on the flowers, stems and leaves), while others show no trace of it. They are incredibly diverse.

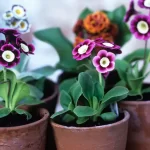
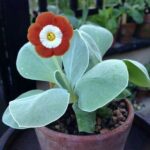
TIP 3. What is the best way to grow Randauricles?
A good True Border type will thrive in a well-drained outdoor situation in a large container or border. They can be successfully grown in a smaller 10cm pot but will never reach their full potential of a blooming cluster studded with many buds.
TIP 4. What soil should they grow in?
Auricula hate a wet compost or soil, so good sharp drainage is vital. For pots we recommend a mixture of equal parts John Innes Compost No. 2, multi-purpose compost and perlite or grit for drainage. In open ground or in a large planter, dig in at least 30 percent gravel to improve drainage. Heavy clay soil is best avoided – use a container instead.

TIP 5. What and how often do you feed them?
We don’t feed much – half strength liquid fertilizer every two to three weeks in the spring, half strength low-nitrogen liquid fertilizer in the fall. For outdoor plants or large tubs, we dig in some bone meal when planting – they are not fed back.
TIP 6. Do they need to be shared regularly?
In the garden, they are happiest when forming a clump, yielding multiple flower spikes and a more showy display. After two to three years, pick them up and divide them in early spring or fall when they have become “leggy” and have a bare stalk sticking out of the ground.
In pots, repot into fresh compost every year. Offsets can then be removed leaving some and the plant placed in a slightly larger pot.
TIP 7. How should they be cared for after flowering?
The flower head should be pinched off and the stem allowed to dry before removing. Place potted plants in a cool, shady spot and keep them just moist throughout the summer. When plants enter a near-dormant state in hot weather, some lower leaves will die and can be removed once they are brown and brittle. Set up outdoor plants so that they have shade in the summer and can then be left alone.
TIP 8. Are you having problems with pests and diseases?
The main pests are the weevil and the spider mite. Prevention is better than cure with the weevil, so treat the compost with a recommended insecticide or biological pest control twice a year. Spider mites can be a problem in hot weather when the plants are covered. Spray with a diluted dish soap mixture, including the underside of the leaves.
This does not kill the eggs, so repeated treatments are required. Botrytis occurs mainly in early spring and late autumn on plants grown indoors. Good ventilation and removing dead leaves and flower stalks should control the problem.